
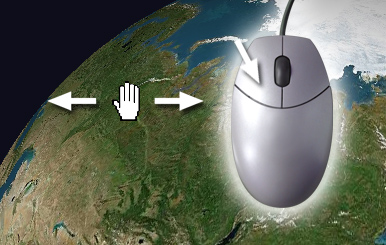
Rotating the globe
Holding down the left mouse button a hand cursor will appear. Move the mouse vertically and horizontally in order to rotate the globe.
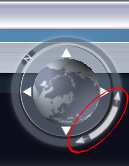
Pivot function
Holding and turning the ring around the miniature globe with the left mouse button will pivot your view around an invisible axis perpendicular to the red crosshairs in the center of the screen. When you have tilted the globe in a perspective view you will be able to rotate the virtual camera that you are looking through around a mountain or any other object behind the crosshairs.
The letter "N" on the ring indicates north.
Clicking and/or holding one of the four white triangles placed around the miniature globe will move the screen into that direction going parallel to latitude or longitude.
![]()
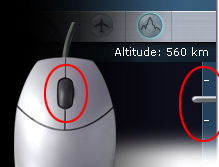
Zoom:
Using the slider on the right side of the screen you can adjust the altitude (distance in miles above ground). You can use the mouse wheel instead to control altitude, independent of the current position of the mouse cursor.
i![]()
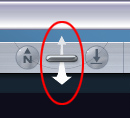
Viewing angle slider
Hold down the slider with the left mouse button and move it down to tilt the current perspective.
![]()
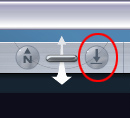
Resetting the viewing angle
In order to return to the default vertical top view simply click this button.
![]()

Flightmode
Different functions are addressed to the mouse buttons in this mode. Rather than rotating and moving the globe "manually" you can fly over its surface while controlling speed, direction and viewing angle at the same time.
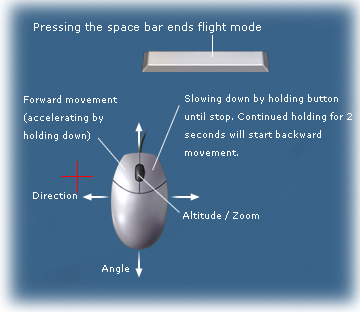
By holding down the left mouse button you will accelerate in a forward movement. Releasing the button, the speed is maintained at a constant level. The right mouse button slows the movement down. If you press the right mouse button until a complete stop and continue to hold it beyond that, a backward movement will start and accelerate gradually. To move forward again repeat the same procedure with the left mouse button.
Directions are controlled by moving your mouse from left to right.
Adjust the viewing angle by moving your mouse up and down.
You can terminate flightmode by using the "esc"-key or the space-key on your keyboard.
![]()

3D profile
Determine the plasticity of the globe's terrain profile with this function. This button is active by default. Displaying the 3D profile requires some CPU performance, so in case your machine is rather slow turn off this feature. The redraw of your screen will be faster, yet the mountains will remain flat.
You can easily adjust the height of the profile by pressing 1, 2 or 3 on your keyboard (1 = normal, 2 = 200%, 3 = 300% which results in a double or triple vertical exaggeration).
![]()
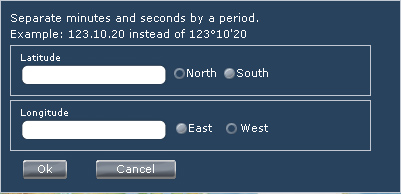
Input of geographic coordinates
In the top bar of the program the current coordinates are diplayed in real time. Clicking on them will open a window where you can enter your own.
IMPORTANT: Please separate your input of degrees, minutes and seconds by a period, e.g. 123.10.20 instead of 123°10'20''
By clicking "OK" the globe will rotate to the desired position.
![]()
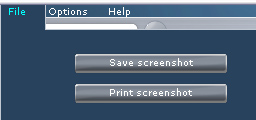
File (menu bar)
Two options can be currently found here. You can use them to save the screen or print it (screen resolution only).
![]()
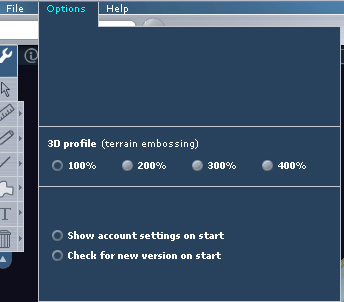
Options (menu bar)
"3D profile" specifies the amount embossing of the terrain. You have quick access to this feature by using the keys 1, 2, 3 and 4 on your computer keyboard.
"Show access options on start" allows switching to different users on the same computer.
"Check for update on start" ensures that you don't miss the latest improvements. As soon as a new version is available an option is shown which is linked to the Diercke website where you can start the download (ca. 5 MB).